Adding Staff and Controlling Permissions in Joomla
What you'll learn
 Joomla User GroupsJoomla Access LevelsAdding New UsersManaging Permissions
Effective user management is a cornerstone of maintaining a secure and functional Joomla website, especially when multiple individuals contribute to its content and administration. As an open-source content management system, Joomla provides robust tools for managing who can access what, and what actions they can perform. This guide will walk you through the fundamental steps of adding new staff members and precisely managing their permissions, ensuring your team has the right access without compromising your site's integrity.
Understanding Joomla User Groups and Access Levels
Before diving into adding new users, it's crucial to grasp two core concepts in Joomla: User Groups and Access Levels. These two elements work in conjunction to define a user's capabilities and what content they can view or interact with.
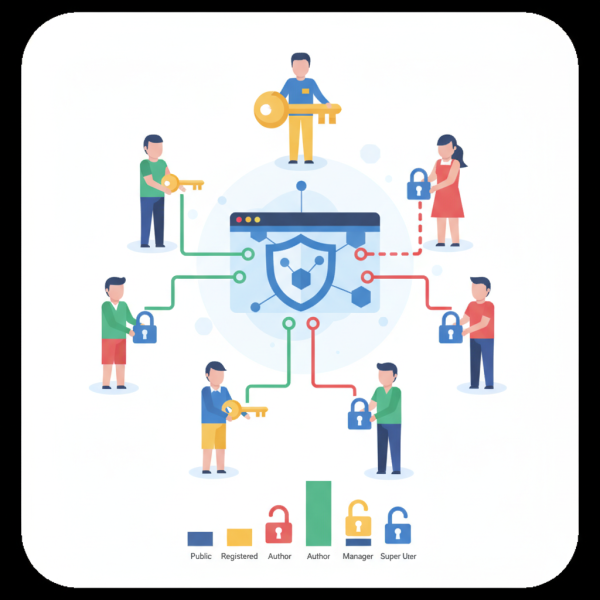
User Groups are collections of users that share a common set of permissions. When you assign a user to a specific group, they inherit the permissions associated with that group. Joomla comes with several predefined groups like Registered, Author, Editor, Publisher, Manager, Administrator, and Super User, each with escalating levels of access. You can also create custom user groups to fit your specific organizational needs.
Access Levels, on the other hand, determine which content or module positions a user can see. An Access Level is a collection of one or more User Groups. If a user belongs to any group included in an Access Level, they can view content assigned to that Access Level. For example, you might have an Access Level called "Special Content" that only members of the "Manager" and "Administrator" user groups can see.
- Default User Groups: Public, Guest, Registered, Author, Editor, Publisher, Manager, Administrator, Super User.
- Default Access Levels: Public, Guest, Registered, Special.
Adding a New Staff User in Joomla
Adding a new team member to your Joomla site is a straightforward process through the administrative backend. This involves creating their user account and assigning them to an appropriate user group.
First, log in to your Joomla administrator panel. Navigate to Users > Manage. This section displays a list of all existing users on your site. To create a new user, click the green New button located in the top left corner of the user manager toolbar.
On the user creation form, you will need to fill in several essential details:
- Name: The full name of the staff member.
- Login Name (Username): A unique username they will use to log in.
- Password: A strong password for their account. Joomla will also allow you to generate one.
- Email: Their primary email address. This is used for password resets and other notifications.
Below these basic details, you will find the Assigned User Groups section. Here, you must select one or more user groups for the new staff member. Carefully consider the role this individual will play on your website. For example, if they will primarily write articles, the "Author" or "Editor" group might be suitable. If they need to manage users or install extensions, a higher-level group like "Manager" or "Administrator" would be required. Always aim to grant the least amount of privilege necessary for them to perform their duties effectively.
After filling in all the required information and assigning the correct user groups, click the Save & Close button to create the new user account. The new staff member will now be able to log in with the credentials you provided.
Managing User Permissions and Access Control
Once a user is added and assigned to a group, you can further refine their capabilities through Joomla's powerful Access Control List (ACL) system. Permissions in Joomla are hierarchical, starting from Global Configuration and moving down to component, category, and even individual article levels.
To review and adjust global permissions for all user groups, navigate to System > Global Configuration. Then click on the Permissions tab. Here, you can define default permissions for actions like "Site Login", "Offline Access", "Access Administration Interface", and more for each user group. For instance, you might want to prevent "Registered" users from accessing the administration interface entirely, while allowing "Managers" full access.
Permissions can also be set at the component level. For example, to adjust permissions for the Article Manager, go to Content > Articles, then click the Options button in the top right. Within the Options, navigate to the Permissions tab. Here, you can override the global permissions for specific actions within the Article Manager, such as "Create", "Delete", "Edit", or "Edit State" for different user groups.
Similarly, permissions can be configured for individual categories or even single articles. When creating or editing an article, the Permissions tab allows you to set specific access rules for that particular item. Remember that permissions are inherited; child elements (like articles within a category) inherit permissions from their parent (the category), which in turn inherits from the component's global settings. You can always override inherited permissions at a lower level.
Key Areas for Permission Adjustment:
- Global Configuration > Permissions: Sets site-wide default permissions.
- Component Options > Permissions: Overrides global permissions for a specific component.
- Category Options > Permissions: Overrides component permissions for items within that category.
- Item (Article, Menu Item) > Permissions: Sets specific permissions for an individual item.
Utilizing Access Levels is essential for restricting the visibility of content. When creating or editing an article, module, or menu item, you can assign an Access level. Only users whose group is part of the selected Access Level will be able to see that particular item on the frontend of your website. This is particularly useful for creating member-only content or internal documentation.
Best Practices for User Management
Maintaining a secure and organized user base requires adherence to some fundamental best practices:
The principle of least privilege dictates that users should only be granted the minimum permissions necessary to perform their job functions. Avoid giving "Administrator" or "Super User" access unless absolutely required, as these roles carry significant power and potential risk.
Regularly audit your user accounts. Periodically review who has access to your Joomla site, what groups they belong to, and if their assigned permissions are still appropriate. Remove accounts for staff who have left your organization promptly.
Encourage or enforce strong password policies. Joomla has built-in features to help with this, and you can also implement two-factor authentication for an added layer of security, especially for high-privilege accounts.
Always ensure that you, as the primary administrator, have a fully functional and secure "Super User" account and that its credentials are kept extremely safe.
Summary
Mastering user management in Joomla is vital for any thriving website, especially for teams working with open-source software. We've explored the foundational concepts of User Groups and Access Levels, which define permissions and content visibility. We then detailed the step-by-step process of adding new staff members and assigning them to appropriate groups. Finally, we delved into Joomla's powerful Access Control List system, explaining how to manage granular permissions from global settings down to individual content items, emphasizing the importance of the least privilege principle and regular security audits. By diligently applying these practices, you can ensure your Joomla site remains secure, organized, and efficiently managed by your team.
Comprehension questions
 What is the primary difference between Joomla User Groups and Access Levels?What information is essential when creating a new user in Joomla's User Manager?Where can administrators adjust global permissions for all user groups in Joomla?