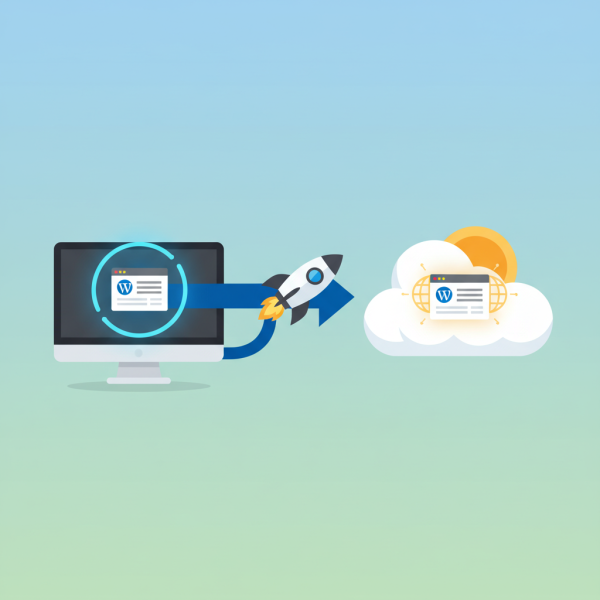
Migrating from Localhost to Live Server
- -->> 9. Migrating from Localhost to Live Server
What you'll learn
 Database MigrationFile Transfer TechniquesConfiguration UpdatesPost-Migration Checks
Moving a WordPress website from a local development environment to a live hosting server is a critical step for any web developer. This transition, while seemingly complex, can be executed smoothly with the right knowledge and careful planning. A local environment provides a safe sandbox for development, allowing you to build, test, and refine your site without affecting a live audience. Once your project is complete and thoroughly tested, the next logical step is to deploy it to a live server, making it accessible to the world. This guide will walk you through the processes, best practices, and essential considerations for a successful WordPress site migration.
Why Migrate? Understanding the Necessity
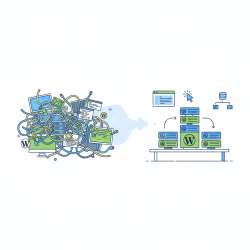
The primary reason for developing a WordPress site locally is to create a robust and polished website without any public exposure during its construction phase. This approach allows for rapid iterations, experimentation with themes and plugins, and extensive bug fixing in an isolated setting. When the site meets all design and functionality requirements, migration becomes necessary to launch it and make it available online for your target audience. It's the bridge between a private project and a public presence.
Pre-Migration Checklist: Preparing for a Smooth Transition
Before initiating any migration, thorough preparation is key to preventing issues. A comprehensive checklist ensures that all necessary steps are considered and executed, minimizing the risk of data loss or website downtime.
- Backup Your Local Site: Always create a full backup of your local WordPress files and database. This serves as a safety net in case anything goes wrong during the migration process.
- Choose Your Live Hosting: Ensure you have a reliable web hosting provider and a domain name configured. Access to your hosting control panel (cPanel, Plesk, etc.) and FTP credentials will be essential.
- Update WordPress Core, Themes, and Plugins: Ensure everything on your local site is updated to the latest versions. This helps avoid compatibility issues on the live server.
- Clean Up Your Database: Remove any unnecessary post revisions, spam comments, or transient data from your local database. Plugins like WP-Optimize can assist with this.
- Review .htaccess and wp-config.php: Check for any local-specific configurations that might conflict with the live environment.
Methods for Migration: Choosing Your Path
There are generally two main approaches to migrating a WordPress site: manual migration or using a dedicated migration plugin. Each method has its pros and cons, and the choice often depends on your technical comfort level and the complexity of your site.
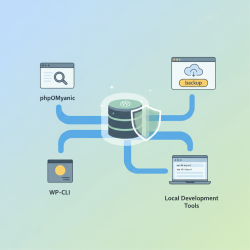
Manual Migration (Files and Database): This method involves directly handling your WordPress files via FTP and your database via phpMyAdmin or a similar tool. It offers complete control but requires a good understanding of WordPress's underlying structure.
Using a Plugin: Various plugins, such as Duplicator, All-in-One WP Migration, or UpdraftPlus, simplify the migration process significantly. They often bundle your entire site (files and database) into a single archive, which can then be easily uploaded and unpacked on the live server.
Step-by-Step Manual Migration Process
For those who prefer a hands-on approach and greater control, manual migration is a robust option. Here’s a detailed breakdown:
1. Exporting Your Local Database: Access your local phpMyAdmin (or equivalent database management tool) and select your WordPress database. Export it, preferably in SQL format. This creates a file containing all your site's content, users, and settings.
2. Zipping Your Local WordPress Files: Locate your WordPress installation folder on your local machine. This typically contains wp-admin, wp-content, wp-includes directories, and other core files. Zip this entire folder to create a single archive for easier upload.
3. Setting Up Your Live Hosting Environment: Log into your hosting control panel. Ensure your domain is pointing correctly and you have access to FTP/SFTP and database management tools.
4. Creating a New Database on Live Server: Within your hosting control panel, create a new MySQL database and a new database user, assigning the user all privileges to the new database. Make a note of the database name, username, and password; you'll need these for wp-config.php.
5. Importing the Database: Access phpMyAdmin on your live server (via your hosting control panel). Select the newly created empty database and use the "Import" tab to upload the SQL file you exported from your local site.
6. Uploading WordPress Files: Connect to your live server using an FTP client (like FileZilla). Navigate to your domain's root directory (often public_html or www). Upload the zipped WordPress files and then extract them directly on the server. Alternatively, upload the unzipped files directly, though this can take longer.
7. Updating wp-config.php: Locate the wp-config.php file in your newly uploaded WordPress root directory on the live server. Edit this file to update the database credentials to match the new database you created on your live server (DB_NAME, DB_USER, DB_PASSWORD, DB_HOST). Also, ensure the WP_HOME and WP_SITEURL constants are correctly set to your live domain URL. If they aren't explicitly defined, they will be updated in the database later.
8. Performing a Search and Replace: This is a crucial step. Your local WordPress installation has numerous references to your local URL (e.g., localhost/your-site-name). These need to be updated to your live domain URL (e.g., www.yourdomain.com). Directly editing the database without a proper search and replace tool can break your site, especially with serialized data. Tools like the "Better Search Replace" plugin (install after migration) or WP-CLI are highly recommended for this task. Replace http://localhost/your-site-name with http://www.yourdomain.com (and https if applicable).
Using a Migration Plugin
For many users, a migration plugin offers a simpler, more user-friendly alternative. Plugins like Duplicator create a "package" of your entire WordPress site, including files, database, themes, and plugins. You download this package, upload it to your live server, and then run an installer script that comes with the package. The installer guides you through the process of setting up the database and updating URLs, often automating much of the complexity. This method is particularly recommended for beginners or those seeking a faster, less manual approach.
Post-Migration Checks and Troubleshooting
Once the migration is complete, rigorous testing is essential.
- Clear Caches: Clear any caching plugins you might be using on both the server and browser levels.
- Check All Pages and Posts: Navigate through your entire site to ensure all content, images, links, and styling appear correctly.
- Test Forms and Functionality: Submit contact forms, test e-commerce functionalities, and verify any custom features work as expected.
- Permalinks: Go to "Settings > Permalinks" in your WordPress admin dashboard and simply click "Save Changes" without making any modifications. This refreshes your permalink structure and can resolve 404 errors.
- Verify Admin Access: Ensure you can log into your WordPress admin dashboard.
- Update Google Analytics and Search Console: If applicable, update your site's URL in these services.
Common issues include broken links, missing images, 404 errors, and database connection problems. Most of these can be resolved by correctly performing the search and replace function, double-checking wp-config.php, or refreshing permalinks.
Conclusion
Migrating a local WordPress site to a live server is a fundamental skill for anyone working with the platform. Whether you choose the granular control of a manual migration or the convenience of a specialized plugin, understanding the core principles of transferring files, databases, and updating configurations is paramount. By following a structured approach, diligently preparing, and performing thorough post-migration checks, you can ensure a seamless transition and a successful launch of your WordPress website to its live, public environment.
Comprehension questions
 What is the primary reason for developing a WordPress site locally before migrating it?Name two key items that should be part of a pre-migration checklist before transferring a WordPress site.Besides manual migration, what is another common method for migrating a WordPress site, and what is its main advantage?
Community Poll
Next Lesson
Course Contents : WordPress Local Development Environments
- >> 9.
 Migrating from Localhost to Live Server