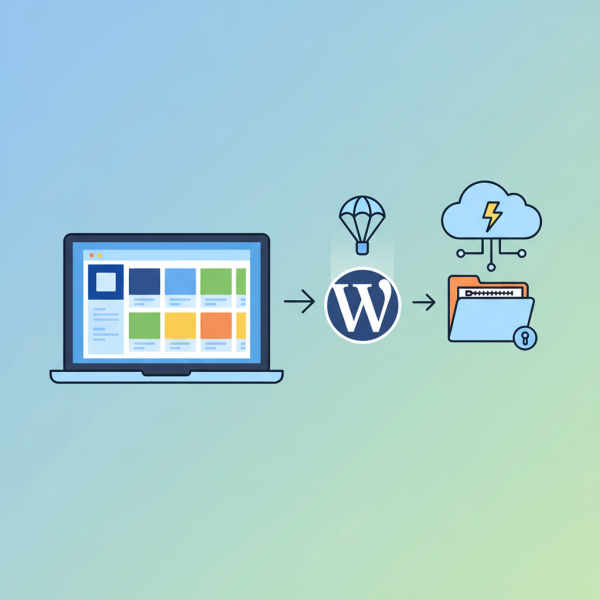
Installing Themes via the Dashboard or via FTP
- -->> 5. Installing Themes via the Dashboard or via FTP
What you'll learn
 WordPress Theme BasicsDashboard Theme InstallationFTP Theme InstallationTheme Customization & Troubleshooting
Once you've selected a WordPress theme that aligns with your brand and purpose, the next logical step is to install it correctly. While the process is generally straightforward, understanding the different methods available ensures you can handle various scenarios, whether you're using a free theme from the WordPress repository or a premium theme purchased from a third-party developer. This guide will walk you through the two primary methods for installing WordPress themes: direct installation through the WordPress dashboard and manual installation via FTP, empowering you to effortlessly transform the look and feel of your website.
Understanding WordPress Themes
A WordPress theme is a collection of files that work together to create the front-end styling of your WordPress website. These files include template files, stylesheets, images, and JavaScript files. Themes control everything from the layout of your pages and posts to the color scheme, typography, and even advanced features like custom headers, footers, and sidebars. It's important to select a theme that is responsive, well-coded, and regularly updated to ensure compatibility and security for your site.
Method 1: Installing Themes via the WordPress Dashboard
This is the most common and recommended method for installing themes, especially for beginners. It's quick, intuitive, and doesn't require any external tools beyond your web browser.
Searching and Installing Free Themes
WordPress offers a vast repository of free themes directly accessible from your dashboard. These themes have been vetted by the WordPress community and are generally reliable.
- Log in to your WordPress admin dashboard.
- Navigate to "Appearance" > "Themes".
- Click the "Add New" button at the top of the page.
- You'll see a gallery of themes. You can browse "Featured," "Popular," "Latest," or use the "Feature Filter" to narrow down your options by subject, features, and layout. Alternatively, use the search bar if you know the theme's name.
- Once you find a theme you like, hover over it and click the "Install" button.
- After installation, click the "Activate" button to make it live on your site.
Activating a new theme immediately changes the appearance of your website. It's always a good idea to preview the theme before activating it on a live site, or better yet, perform theme changes on a staging environment.
Uploading Premium or Custom Themes
If you've purchased a premium theme from a marketplace like ThemeForest, Elegant Themes, or received a custom-developed theme, you'll usually receive it as a .zip file. This method is also done through the dashboard.
- Log in to your WordPress admin dashboard.
- Navigate to "Appearance" > "Themes".
- Click the "Add New" button at the top of the page.
- This time, click the "Upload Theme" button.
- Click "Choose File" and select the theme's .zip file from your computer. Make sure you're uploading the main theme file, not a parent folder containing multiple files or documentation.
- Click "Install Now".
- Once installed, click the "Activate" button to apply the theme to your website.
Ensure that the uploaded .zip file contains only the theme folder itself. Sometimes, premium theme packages include extra files like documentation or demo content in the main zip, which can cause an "Are you sure you want to do this?" error during upload. In such cases, you'll need to extract the main .zip file on your computer first and locate the actual theme .zip file inside to upload.
Method 2: Manual Theme Installation via FTP
The manual FTP method is useful in specific situations, such as when your WordPress dashboard's file upload size limit is too low, you encounter an HTTP error during dashboard upload, or you simply prefer working directly with server files. It requires an FTP client and your server's FTP credentials.
Prerequisites for FTP Installation
- An FTP client (e.g., FileZilla, Cyberduck).
- Your FTP login credentials (hostname, username, password, port). These are usually provided by your hosting provider.
- The theme's .zip file downloaded to your computer.
Steps for Manual FTP Installation
Before you begin, extract the theme's .zip file on your local computer. This will create a folder with the theme's name (e.g., `twentytwentyfour`). This unzipped folder is what you will upload.
- Connect to your website's server using your FTP client and credentials.
- Navigate to your WordPress installation directory. This is typically `public_html`, `www`, or the root folder of your domain.
- Inside your WordPress directory, locate the `wp-content` folder.
- Open the `wp-content` folder and then open the `themes` folder. This is where all your WordPress themes reside.
- Upload the unzipped theme folder (e.g., `twentytwentyfour`) from your local computer into the `wp-content/themes/` directory on your server. Ensure that the entire folder structure is maintained.
- Wait for the upload to complete. This might take some time depending on your internet connection speed and the size of the theme.
- Once the upload is finished, log in to your WordPress admin dashboard.
- Navigate to "Appearance" > "Themes".
- You should now see the newly uploaded theme listed among your available themes.
- Hover over the new theme and click the "Activate" button to enable it on your site.
Verifying the upload path is crucial. The theme folder should be directly inside `wp-content/themes/`. If it's nested incorrectly (e.g., `wp-content/themes/mytheme.zip/mytheme`), WordPress won't recognize it.
Post-Installation Steps and Best Practices
After installing and activating a new theme, there are a few important steps and considerations:
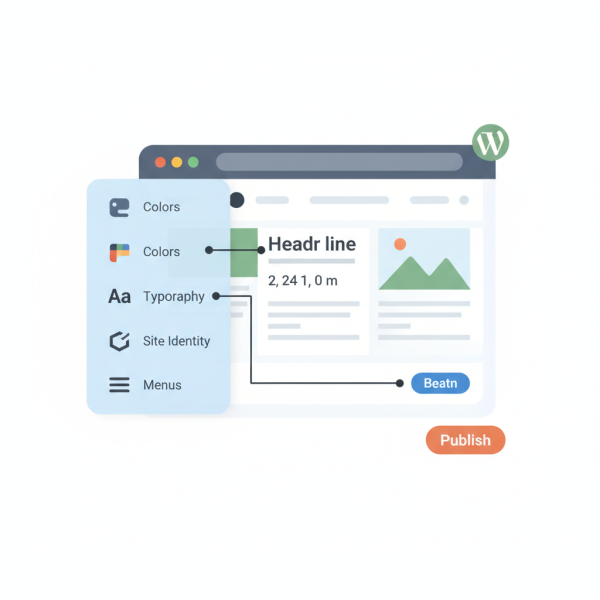
- Customization: Explore the theme's customization options available under "Appearance" > "Customize" or through a dedicated theme options panel. This is where you adjust colors, fonts, layouts, and other visual elements.
- Required Plugins: Many premium themes recommend or require specific plugins to function correctly or to enable all advertised features. Install and activate these as prompted.
- Demo Content: If your theme came with demo content, consider importing it on a development site to understand how the theme is structured and to serve as a starting point for your own content.
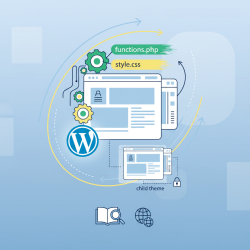
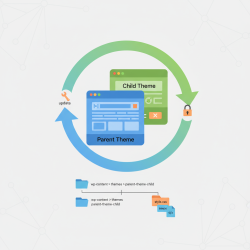
- Child Themes: For any significant customizations, always use a child theme. This ensures that your modifications are not overwritten when the parent theme receives an update.
- Backup: Always create a full backup of your website before making significant changes, such as installing a new theme.
Troubleshooting Common Theme Installation Issues
While theme installation is generally smooth, you might encounter some hiccups:
- "The package could not be installed. The theme is missing the style.css stylesheet.": This usually means you've uploaded the wrong .zip file (e.g., a package containing documentation instead of the actual theme .zip) or the theme file structure is incorrect. Ensure you're uploading the .zip file that contains the `style.css` file directly inside its root.
- "Are you sure you want to do this?" error: This is often due to PHP memory limits or file upload size limits on your server. The FTP method can bypass these limits. You might also increase `upload_max_filesize` and `post_max_size` in your `php.ini` file if you have server access.
- Theme not appearing after FTP upload: Double-check the upload path. The theme folder must be directly inside `wp-content/themes/`. Also, ensure all files were uploaded successfully.
Summary
Installing a WordPress theme is a foundational skill for anyone managing a website. You have two robust methods at your disposal: the convenient WordPress dashboard method for both free and uploaded premium themes, and the more technical but equally effective manual FTP upload method. The dashboard approach is ideal for most users, leveraging WordPress's built-in functionality for a quick setup. The FTP method serves as a reliable alternative for larger themes, server limitations, or when direct file manipulation is preferred. By mastering these installation techniques, along with understanding best practices for customization and troubleshooting, you can confidently control the aesthetic and functional foundation of your WordPress site, ensuring a smooth and successful online presence.
Comprehension questions
 What are the two primary methods for installing a WordPress theme covered in the article?When might you choose to use the manual FTP installation method over the WordPress dashboard method?What common error indicates that you might have uploaded the wrong .zip file during theme installation, and what is the typical solution?Why is it recommended to use a child theme for significant customizations, and what benefit does it provide?
Review Quiz
Next Lesson
Course Contents : WordPress Themes and Site Customization
- >> 5.
 Installing Themes via the Dashboard or via FTP